


Static Site Hosting with Github Pages, Namecheap, and ACM
Host static websites with a custom domain and free SSL certificate


Photo by HalGatewood.com on Unsplash
Hello everyone. In this article, we will host my personal portfolio site using Github Pages, map a custom domain name and add a free SSL certificate.
Prerequisites
Setup Github Pages
Login into Github.
Create a new repository with the name .github.io
Push your website code to the repository. It should have an index.html file in the root directory.
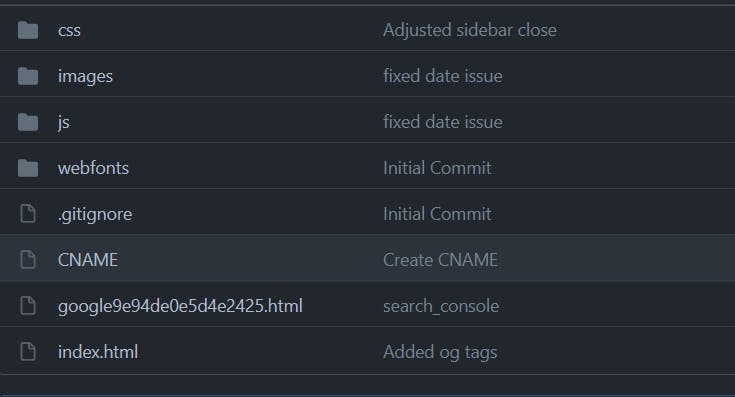 website folder structure
- Click the Settings tab inside the repository and scroll down to the Github Pages section.
5.In the Source option, select the branch as master and select the folder as / (root).
In the Custom domain, enter the name of the domain that is purchased from Namecheap. In this case, I added the domain **www.ganeshkumarm.me** that I purchased from Namecheap.
Check the option Enforce HTTPS.
Don’t worry If you are seeing any error messages related to HTTPS setup. We will fix it later.
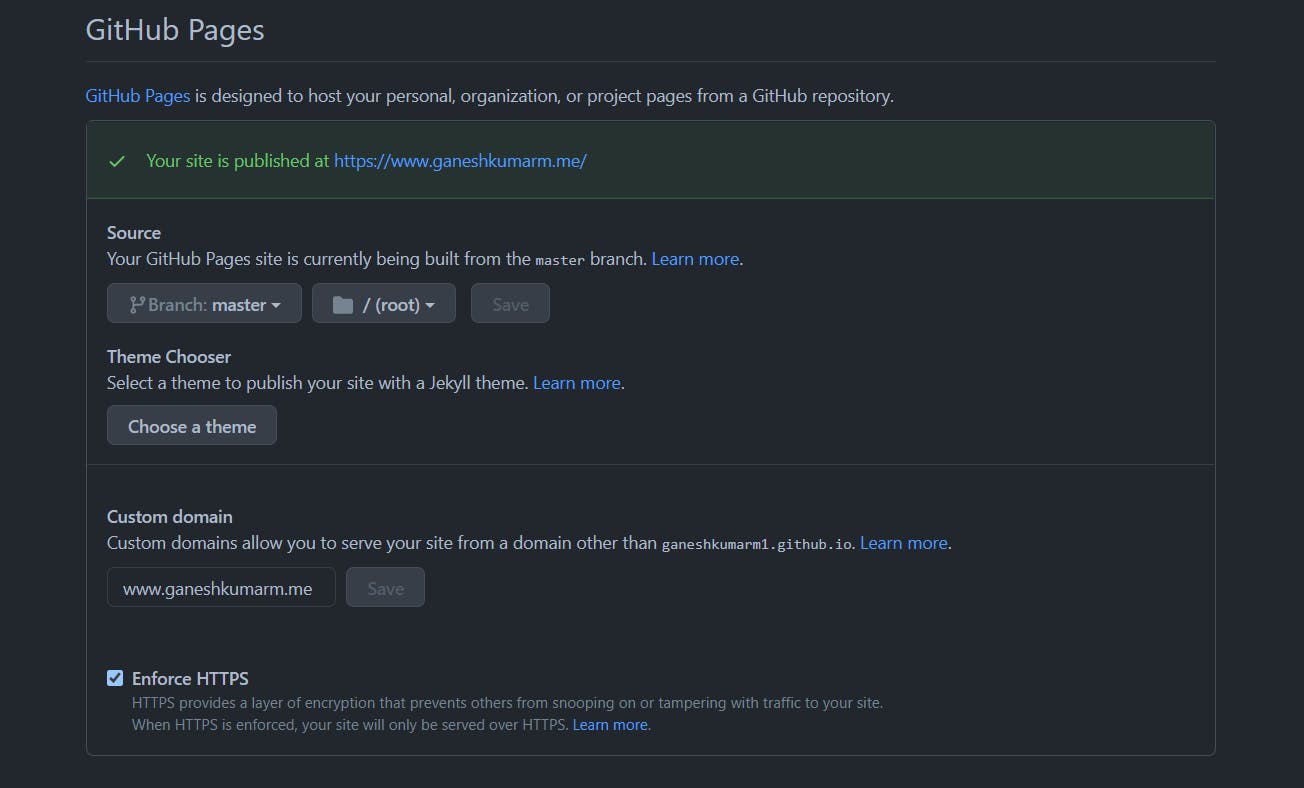 Github Pages Configuration
After adding the custom domain, a new file named CNAME will be added to the repository. The CNAME file contains the custom domain name (If the custom domain name does not have the www prefix, please add it).
Now you can test if the site is working by opening https://<github_username>.github.io
Namecheap DNS Configuration
Add Redirect Domain
Go to the Namecheap Domain Dashboard and click the MANAGE.
Under the Domain tab, go to the REDIRECT DOMAIN section.
Click ADD REDIRECT and add the below entry with the domain name. Source URL - yourdomain.com Destination URL - https://www.yourdomain.com
Click ADD WILDCARD REDIRECT and add the below entry with the domain name. Source URL - Wildcard Redirect Destination URL - https://www.yourdomain.com
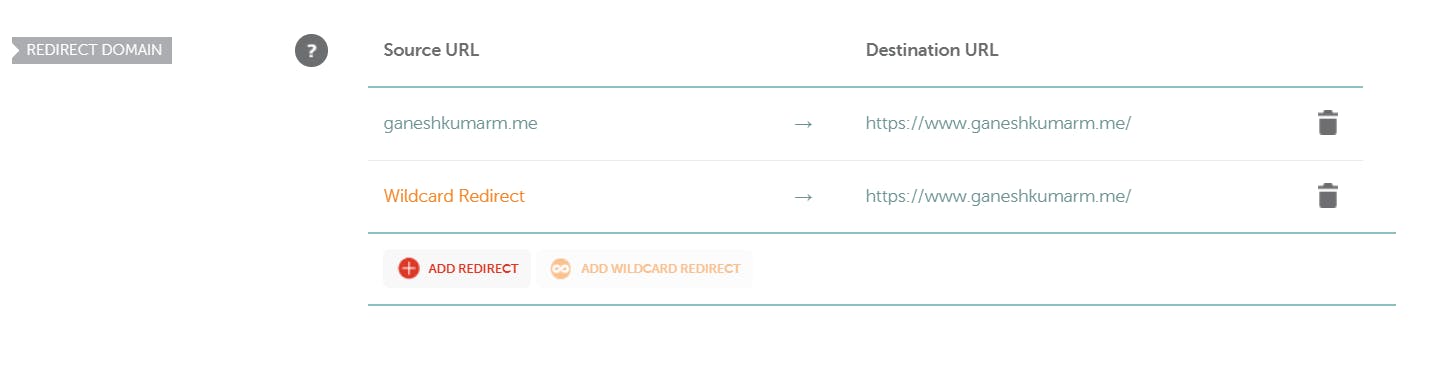 Redirect Domain
Add Redirect Email
Go to the REDIRECT EMAIL section and click ADD FORWARDER.
Add a redirect email entry with the email id Alias - admin Forward to - youremail@xyz.com
 Redirect Email
Enable Email Forwarding
Navigate to the Advanced DNS tab and go to the MAIL SETTINGS section.
Select Email Forwarding from the drop-down and add the below entry. Type - TXT Record Host - @ Value - v=spf1 include:spf.efwd.registrar-servers.com ~all TTL - 30 min
 Email Forwarding
Add CNAME and A Records
Navigate to the Advanced DNS tab and add the below entries by clicking ADD NEW RECORD button.
Add the below CNAME and A records.
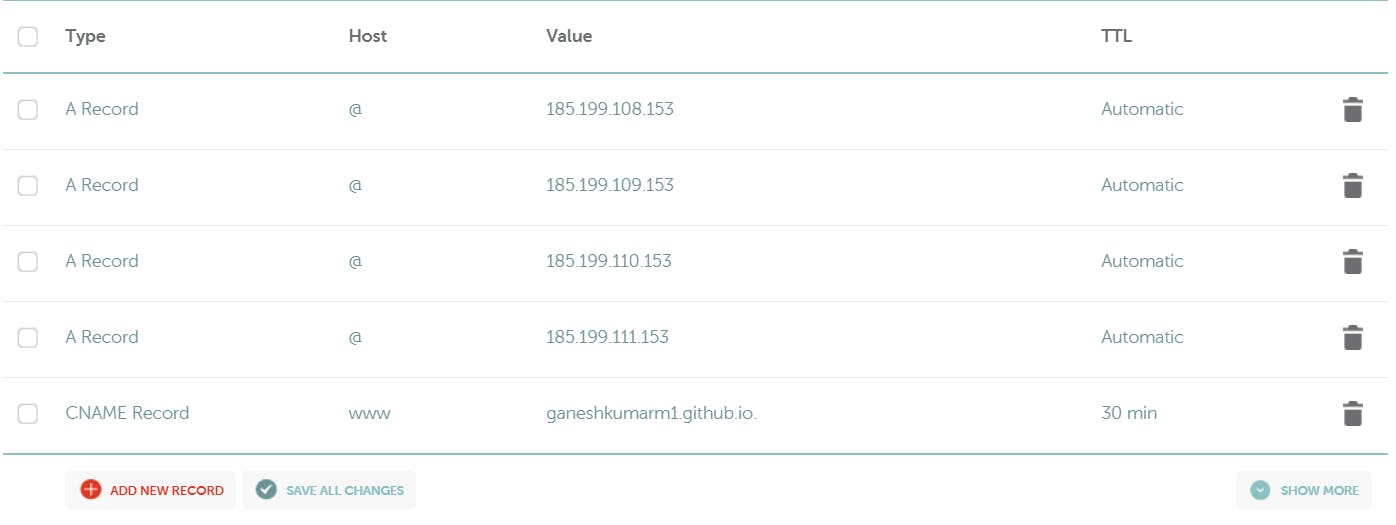 Add CNAME and A Records
Request SSL Certificate via AWS Certificate Manager (ACM)
Login to AWS Admin Console and choose the service **Certificate Manager.**
Click Get Started under Provision certificates.
Choose Request a public certificate and click Request a certificate.
In the Domain name text box enter *.domainname.com and click Next.
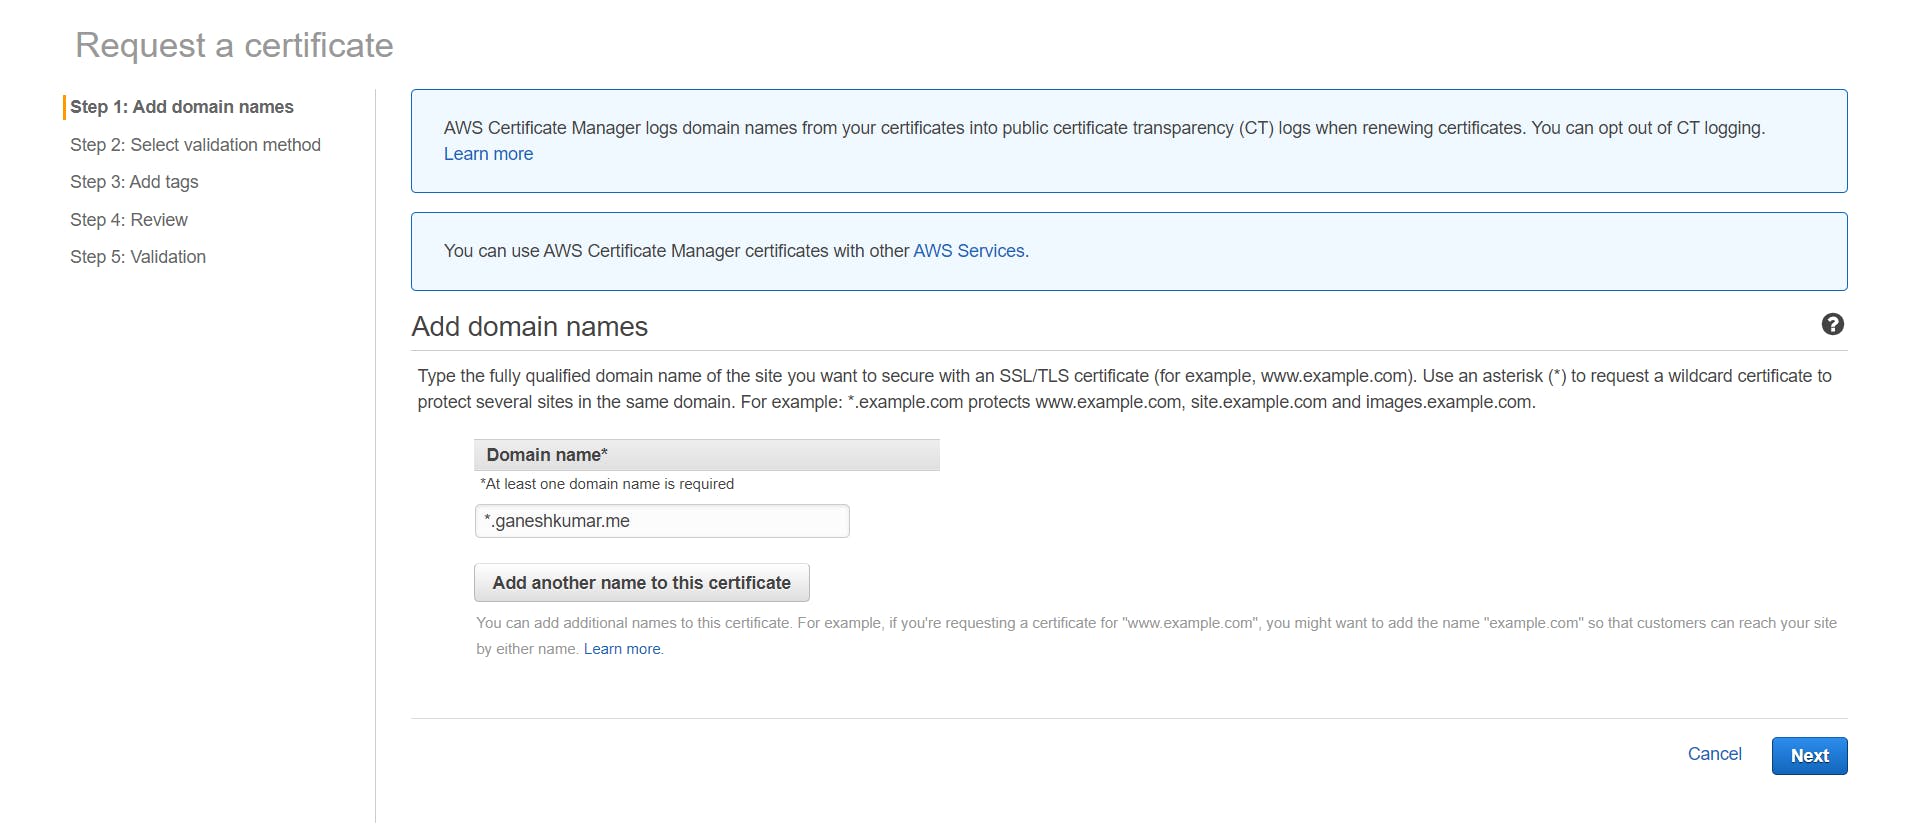 Domain Name
- Choose Email validation and click Next.
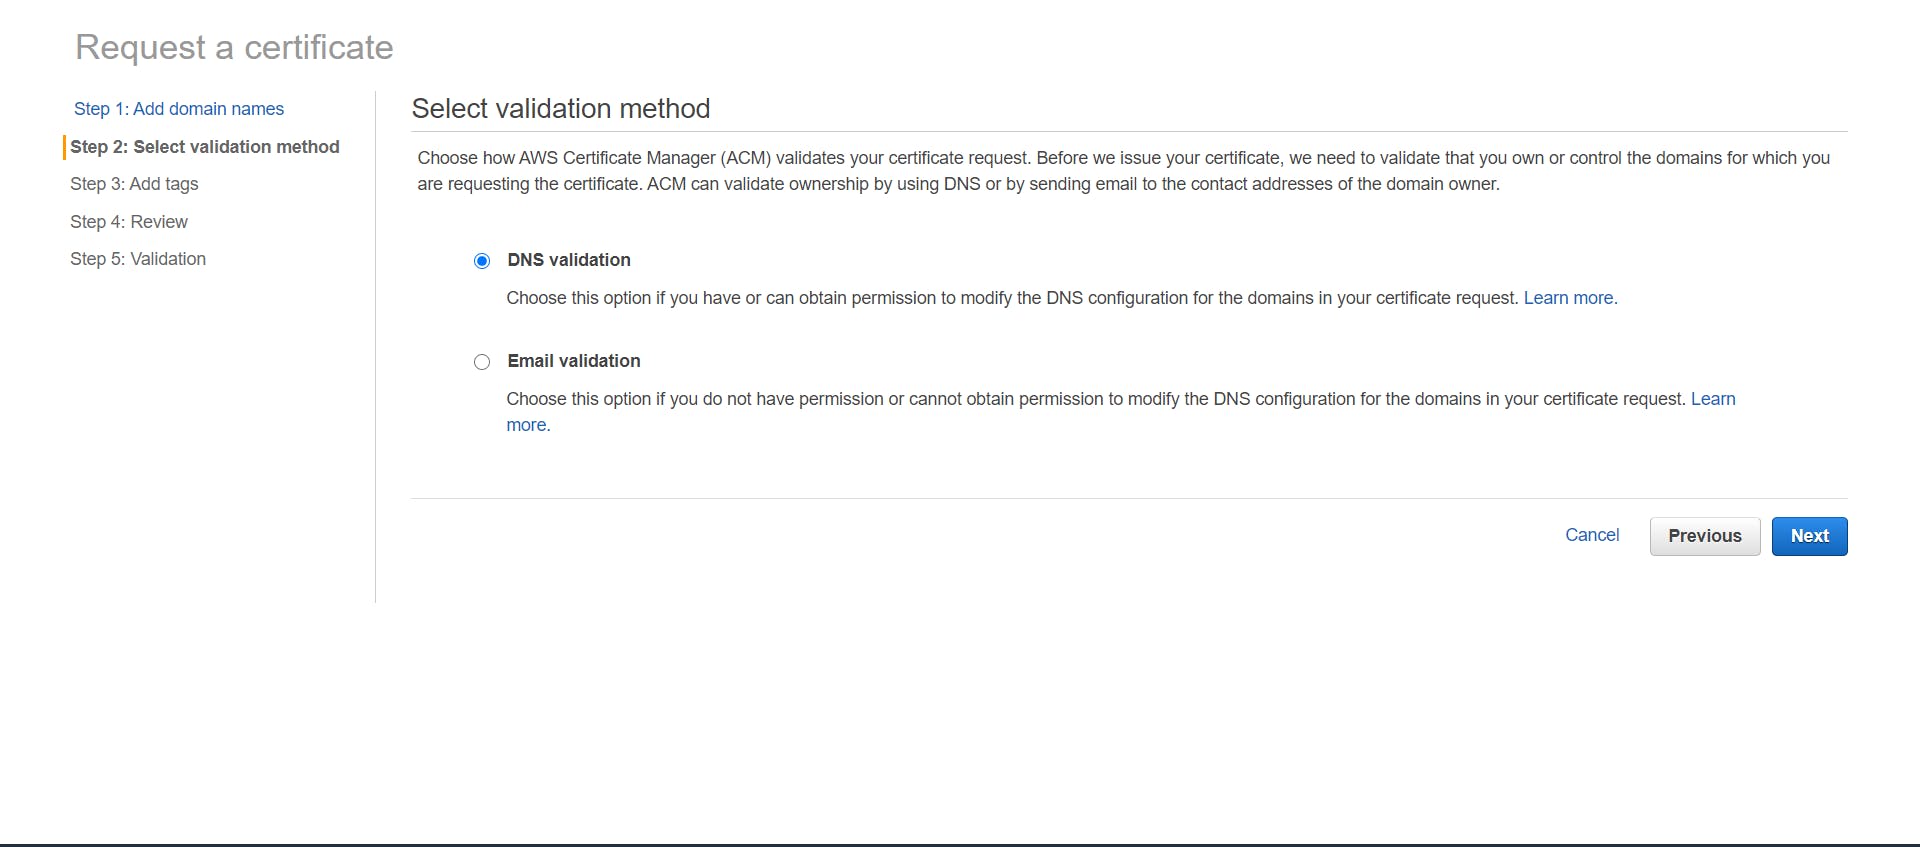 Email Validation
Click Review and then click Confirm and request.
Now your certificate will be in Pending status and you will get a mail from Amazon Certificates asking for approval.
You can click the link in the email and approve it.
Note
Usually, the DNS propagation may take 24 - 48 hours to get reflected. Until then the site will not be working.
Also, AWS Certificate will take 30 mins - 1 hr to get reflected. Until then the https will not be working.
Thank you 🤘
To know more about me, visit **ganeshkumarm.me**